Imagine a tool that not only understands your website visitors but also transforms their indecision into confident purchases. This is the magic of Guided Selling. In the digital shopping world where every click matters, Guided Selling emerges as a helpful guide, leading your customers through a sea of choices to find their perfect product match. If you’re facing low conversion rates, this article is your key to boosting a higher sales potential.
Guided Selling, a sophisticated form of Interactive Content, revolutionizes the user experience on your website. It’s like having a personal shopping assistant available 24/7, adeptly guiding your visitors through a curated journey of product discovery. Ready to see how this tool can elevate your conversions and boost your sales? Dive into this article to uncover the secrets of Guided Selling and witness its impact on your eCommerce strategy.
- What is Guided Selling?
- Why is Guided Selling important?
- The main benefits of using Guided Selling?
- 7 Steps to create a Guided Selling experience
- The 3 main rules of a successful Guided Selling Interactive Experience?
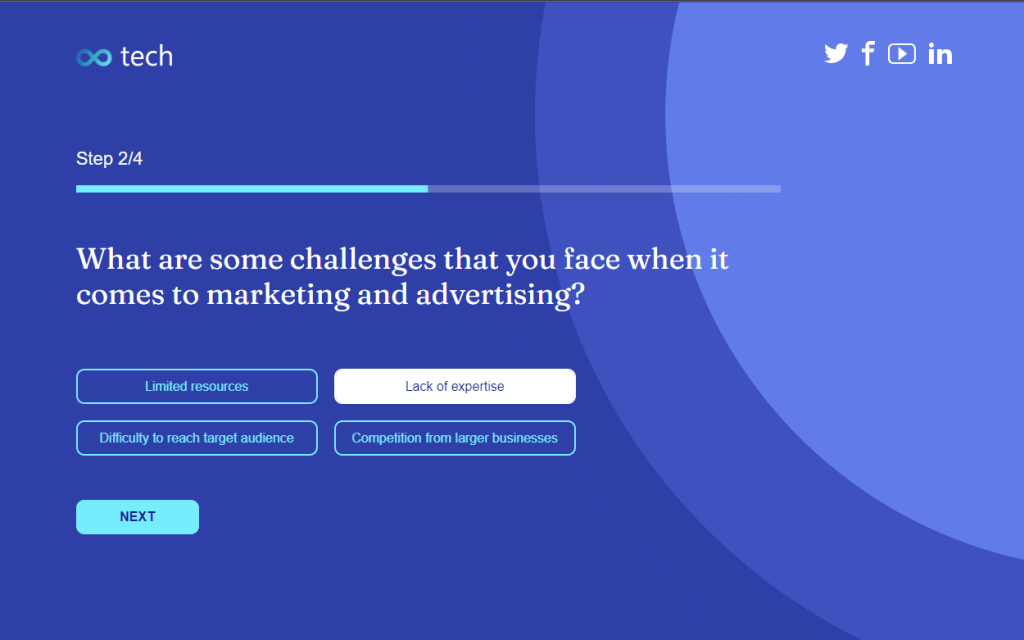
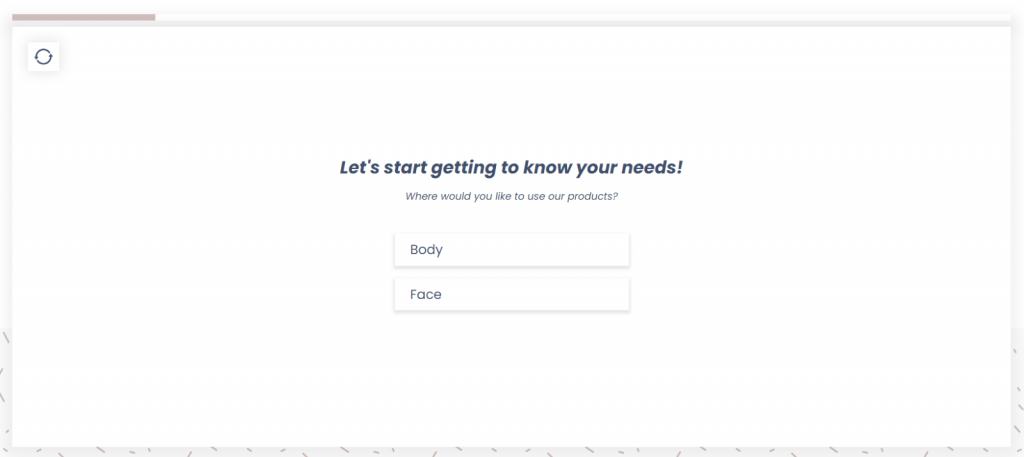
What is a Guided Selling experience?
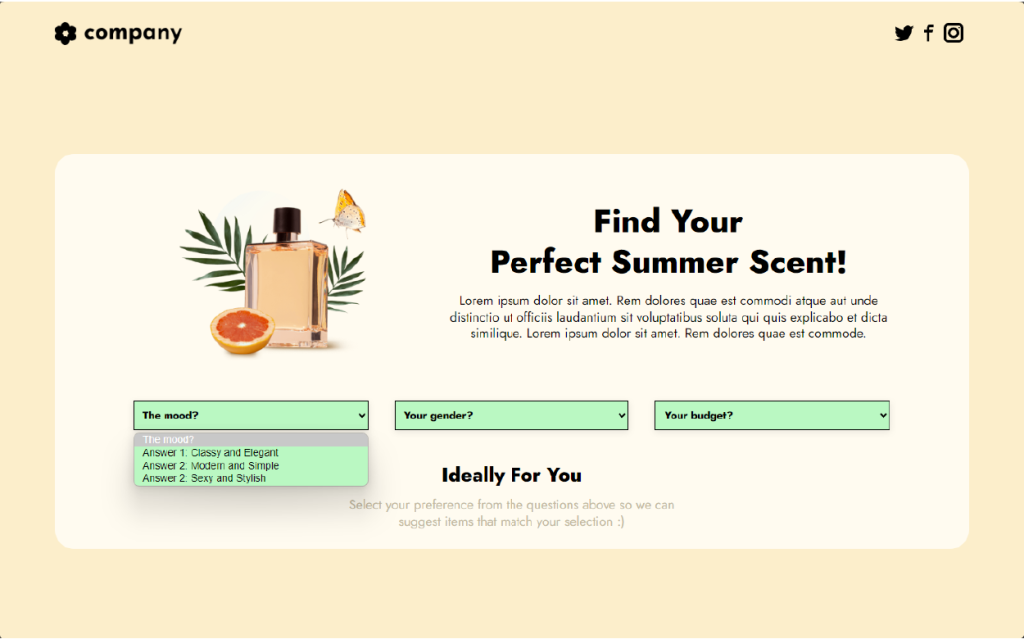
| Guided Selling is a type of Interactive Content where online users answer questions about their needs and preferences virtually, leading them effortlessly to the most suitable products, features, or website sections. |
In other words, it’s like having an employee that welcomes visitors entering your physical shop. The employee will ask visitors what they are looking for, and they will help them find it. This approach is based on the same principle. But, instead of having a staff member, you’ll design a Guided Selling tool that will automatically suggest products to your website visitors after they answer a couple of questions.
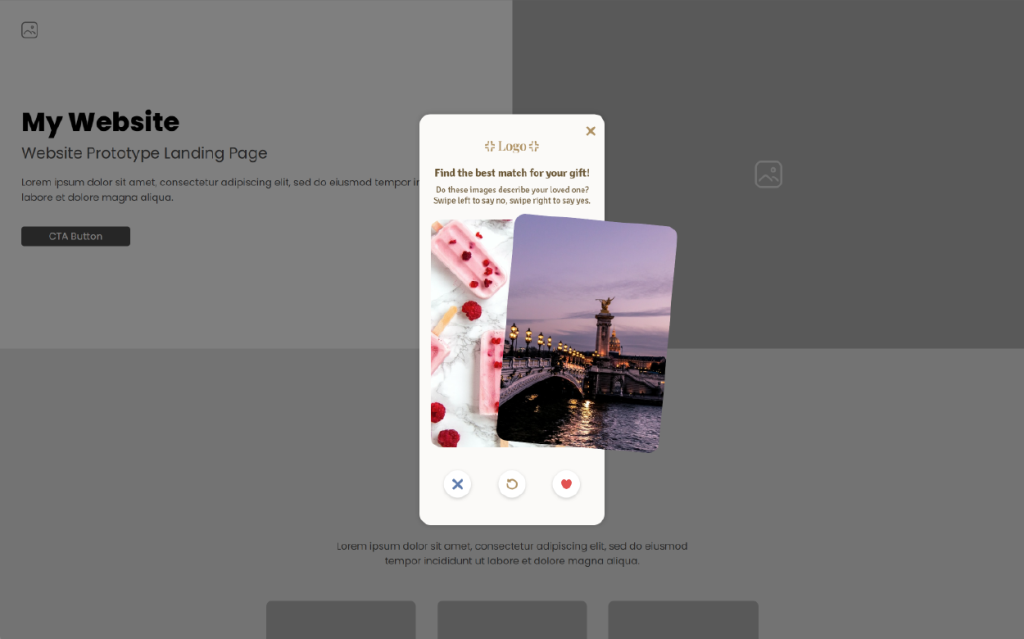
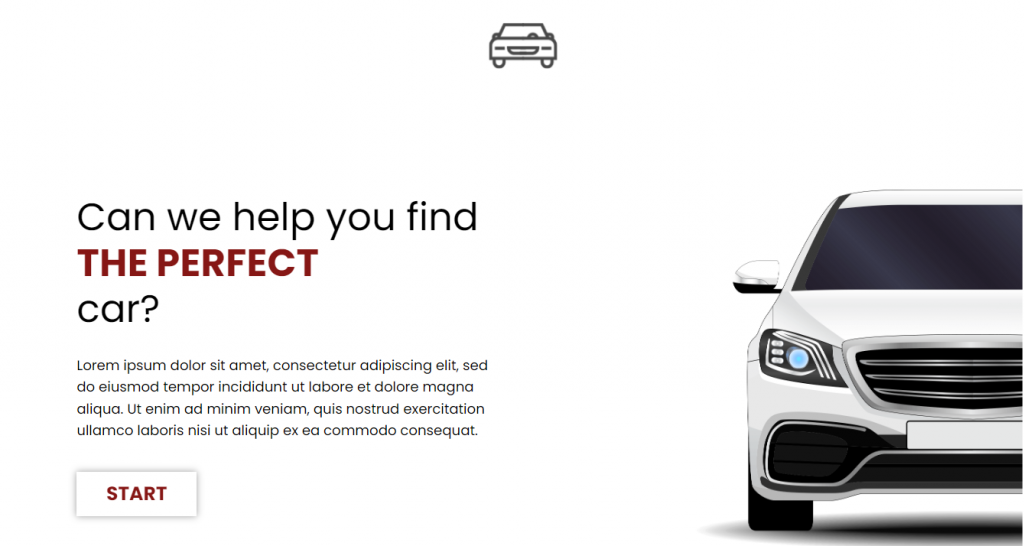
So, what is Guided Selling? An example is worth 1000 words.
Why is Guided Selling important?
- Improves user experience: A key reason users don’t buy from a website is the user experience. Guided Selling can enhance this significantly.
- Professional and trustworthy look: Well-designed Guided Selling tools lend a professional, trustworthy feel to your site.
- Responsive design: These tools adapt to various devices, ensuring a smooth experience for all users.
- Efficient browsing for diverse products: Ideal for sites with a wide range of products. Simplifies browsing for low involvement items (like fashion or consumer goods) and clarifies complex choices (like tech products or SaaS plans).
- Clarifies pricing strategy: Helps customers understand pricing, by allowing them to interactively explore different options and features.
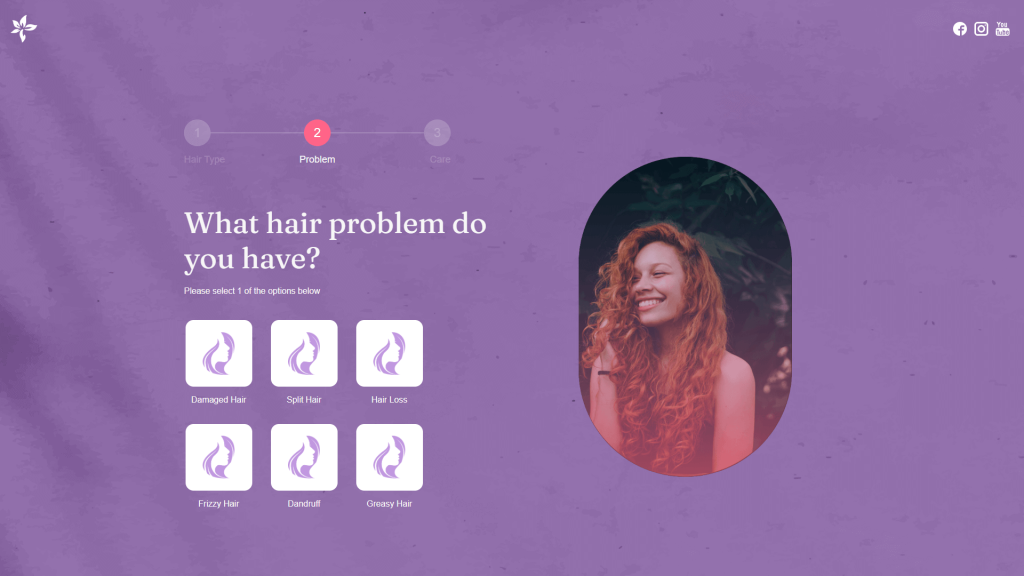
See the example below for a clearer understanding of how Guided Selling simplifies the buying process.
Plus, if you ask the right questions, you’ll really uncover your customer’s needs and preferences. You’ll then be able to show them products accordingly. So, they’ll be confident in the products they add to their basket because they’ll fit more closely to what they were looking for.
In other words, Guided Selling tools can help you simplify steps 2 to 5 of the online buying process and really enhance your customers’ user experience. Hence, boost your sales. Plus, there are many different industries where this approach could do wonders.
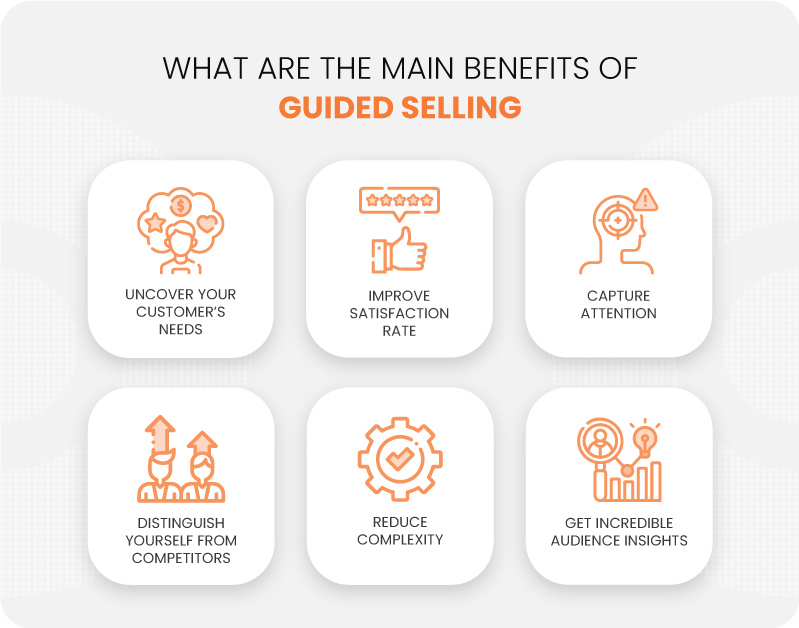
What are the main benefits of Guided Selling tools?
Having grasped the essence and importance of Guided Selling, it’s essential to explore its key advantages:
1. Uncover your customers’ needs
We can’t emphasize that enough. Guided Selling is the best way to uncover your customer’s needs online. Why? Because you simply ask them lots of questions about their needs and preferences. Plus, if you design your the tool the right way, you’ll even be able to discover latent needs, a.k.a needs your customers didn’t realize they had.
2. Improve satisfaction rates
Because you’ll propose products or services that fit your audience’s needs, you’ll have a way higher chance of satisfying them. The problem with online purchases is that sometimes your audience isn’t exactly sure of what they are getting into. They cannot see, touch, or try the product, so there are many uncertainties. But, if they are well directed, like with the help of Guided Selling tools, they’ll have better chances to avoid buying things that don’t quite fit what they were looking for. They’ll avoid making mistakes, and therefore, be disappointed and unsatisfied.
3. Capture attention
Capturing the attention of website visitors is getting harder and harder. But, with a Guided Selling Interactive Experience, you engage your users. They interact directly with your website. Users are inclined to stay longer on a website where they can participate actively rather than passively watching, reading, and browsing. They’ll enjoy replying to your questions, and they’ll be curious to see what you propose to them.
4. Differentiate your brand from competitors
Most websites are designed in the same way: A home page, category or landing pages, a search field, and product pages. It’s quite boring, really. Having a Guided Selling tool will simplify this, but it will also allow you to distinguish yourself from your competitors. Because this strategy is not widely used yet, you should see that as an opportunity.
5. Reduce complexity
A Guided Selling Interactive Experience can also help you decomplexify your product offering. For example, if you are selling cellphones, not everyone knows what a triple-camera system is. Instead of just mentioning a complex feature like that, you can ask customers questions about their usage and needs.
For example:
How important is the quality of the camera on your mobile phone for you?
1. Not so important, I rarely take pictures.
2. It’s quite important, but I wouldn’t say the most important.
3. It’s the most important for sure!
Depending on their answer, you’ll present them with different models.
6. Get incredible audience insights
Of course, you’ll want to make sure you collect each participant’s answers for analytic purposes. It’s such valuable information. You can use these insights to find trends in the needs and preferences of the users. You can also find ways to target your audience better. Finally, you can give these insights to your sales team so that they are better equipped in the future.
Guided Selling in a B2B environment
In the realm of B2B, Guided Selling takes a strategic turn. Here, it’s not just about product recommendations; it’s about crafting solution builders that resonate with professional needs. Imagine a tool where business professionals answer targeted questions, and in return, receive suggestions for B2B products, services, or even entire solution packages tailored to their specific business challenges.
Here are the key benefits of B2B Guided Selling:
- Customized solutions: By understanding the unique needs and pain points of each business, Guided Selling tools can suggest the most relevant solutions, enhancing decision-making and efficiency.
- Streamlined sales process: B2B Guided Selling simplifies the sales journey, quickly guiding professionals to appropriate solutions without the need for time-consuming consultations.
- Increased engagement: Interactive questionnaires and solution builders keep B2B clients engaged, offering a more dynamic and participatory experience compared to traditional sales methods.
- Data-driven insights: Every interaction provides valuable data, offering insights into market trends and client preferences, which can inform future business strategies.
For instance, a B2B company selling cloud solutions might use Guided Selling to determine a client’s storage needs, security concerns, and budget constraints, leading them to the ideal cloud package.
In short, B2B Guided Selling transforms the complex process of matching professional requirements with precise solutions into an interactive, seamless experience. It’s a potent tool for any B2B company looking to elevate its engagement and provide value-driven recommendations.
7 Steps to create a Guided Selling experience
1. Explore:
- Identify the problems your company needs to solve.
- Define the purpose of your Guided Selling experience.
- Decide if it’s for customer insights, personalized offerings, or sales boosting.
2. Plan it out:
- Choose between a temporary or permanent format.
- Create a wireframe outlining user flow and product display logic.
- Decide on the complexity level: simple linear or complex branching.
3. Create your Guided Selling experience:
- Determine the format (standard questions, video, etc.).
- Design with a captivating look, animations, and interactivity.
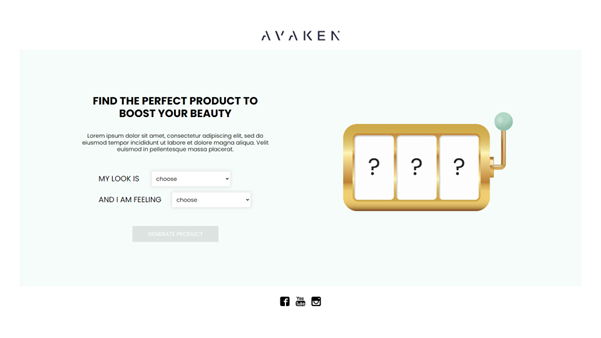
- Consider adding a Marketing Game, like a spin & win, to incentivize participation.
OR
- Pick an easily customizable Guided Selling template from Dot.vu
- Customize it to match your brand identity and project goals through the Quick Edits.
- Use the Advanced Editor for complex changes, such as the logic of the experience.
4. Set up integrations:
- Integrate with Google Analytics for data collection.
- Consider integrations with marketing automation tools like Pardot, HubSpot, or Mailchimp.
5. Publish it:
- Set up KPIs in advance for performance evaluation.
- Specify metadata for SEO, including a relevant meta-title and meta-description.
- Decide whether to publish on a dedicated page or embed it on an existing page.
6. Promote it:
- Promote on your website, social media, or other impactful channels.
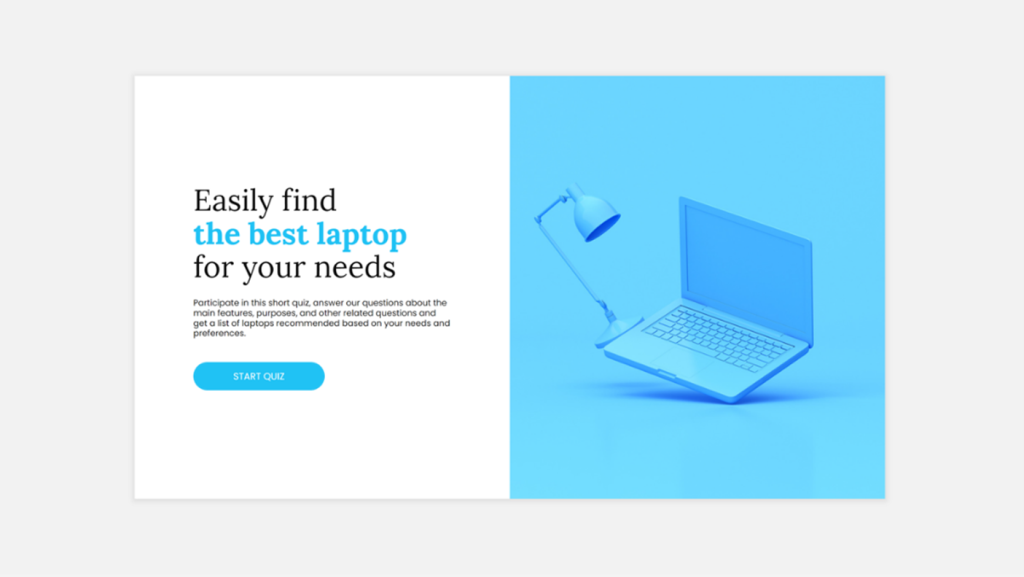
- Use CTA buttons to encourage users to explore the Guided Selling experience.
7. Evaluate & optimize:
- Collect data on clicks, views, visitors, and customer engagement.
- Analyze performance and optimize for more participation.
- Freely adjust and optimize at any time for ongoing success.
These steps offer a streamlined guide to create, launch, and refine your Guided Selling experience with Dot.vu.
The 3 rules of successful Guided Selling experiences
We’ve explored the what, why, and benefits of Guided Selling. Now, let’s dive into the golden rules for crafting these immersive experiences that not only enchant but convert.
1. Focus on the user, not just the sale
Picture this: You enter a store looking for running shoes and are immediately directed to high-end designer footwear instead. Frustrating, right? That’s why, with Guided Selling, your primary goal should be enhancing the user experience, not just pushing sales. It’s about accurately reflecting the customer’s needs based on their responses, ensuring they feel heard and valued, not just sold to.
2. Keep it as simple as possible
The essence of a great experience lies in its simplicity. A Guided Selling journey should be a smooth, enjoyable path, not a complex puzzle. Keep your questions relevant and concise. A focused, streamlined experience respects your user’s time and maintains their interest, without overwhelming them.
3. Place your experience strategically
Finally, be careful where you want to insert your experience.
- For broad browsing aid: Use the front page as your stage for general assistance.
- For category-specific guidance: Make the category or landing page your arena.
- For detailed product selection: Let the product page be your spotlight.
Would you like to see other great Guided Selling examples? Then, check this one out!
Get started easily with our Guided Selling solution!
You’re now equipped with the insights into the transformative power of Guided Selling for both B2C and B2B environments. The potential it holds for elevating your interactive marketing strategy is immense and untapped.
At Dot.vu, the leading Interactive Content platform, we make the creation of Guided Selling experiences not just easy, but intuitive. With our ready-to-use, customizable templates, you’re at the helm. You decide the questions, tailor the design to fit your brand’s unique style, and set the course for an engaging customer journey.
Don’t just imagine the impact – experience it. Start your journey towards enhanced customer engagement and increased conversions today. Create your free account on Dot.vu, explore our templates, and effortlessly bring your Guided Selling vision to life. The future of interactive marketing is in your hands – let’s shape it together!