You’re here because you’ve sat through boring presentations and want to make an Interactive Presentation. You’ve noticed that by the end of presentations, what is shared and presented is almost always forgotten.
What if I told you, you could create presentations that spark engagement and are memorable? You have probably seen presentations that are interactive, animated, and far more engaging. Well, guess what? That’s how Dot.vu transforms presentations.
As Interactive Presentations make its way into businesses, education, and sales, many interactive tools have emerged. Most of them only offer surface-level engagement like basic polls and Q&As but interactivity spans beyond that.
From Marketing Games to Interactive Virtual tours, you can easily add these experiences to your presentations with Dot.vu. It can be that simple for us who aren’t so tech savvy!
Want to make your presentations interactive? Keep reading!
What are Interactive Presentations?
Interactive Presentations actively involve your audience in the delivery, unlike your typical presentation where they passively listen.
In contrast to traditional slides which are static and linear, viewers can engage through clickable elements and quizzes. Moreover, they can interact with Interactive Experiences like virtual tours, calculators, and more. Interactivity may seem complex but Dot.vu makes it easy that anyone can do it, no tech skills required!
We’re revolutionizing presentations and transforming them for the better. How? Audiences get to explore on their own and receive personalized content instead of the same content in one rigid flow. Additionally, you can use the same presentation for different audiences without having to start from scratch. How awesome is that? One deck which does the job, saving you a lot of time!
Ready to make an Interactive Presentation? Let’s dive into our step-by-step guide.
Related: What Is an Interactive Presentation: Everything You Need to Know Now
How to create an Interactive Presentation step-by-step
Ready to start creating impactful and engaging presentations? Our step-by-step guide will show you how to make an Interactive Presentation.
Step 1: Choose a template that fits your goals
There are many reasons for creating a presentation such as:
- To inform and educate
- To persuade and inspire
- To convert and sell
- To share ideas
After defining your goal in, it’s time to make your Interactive Presentation.
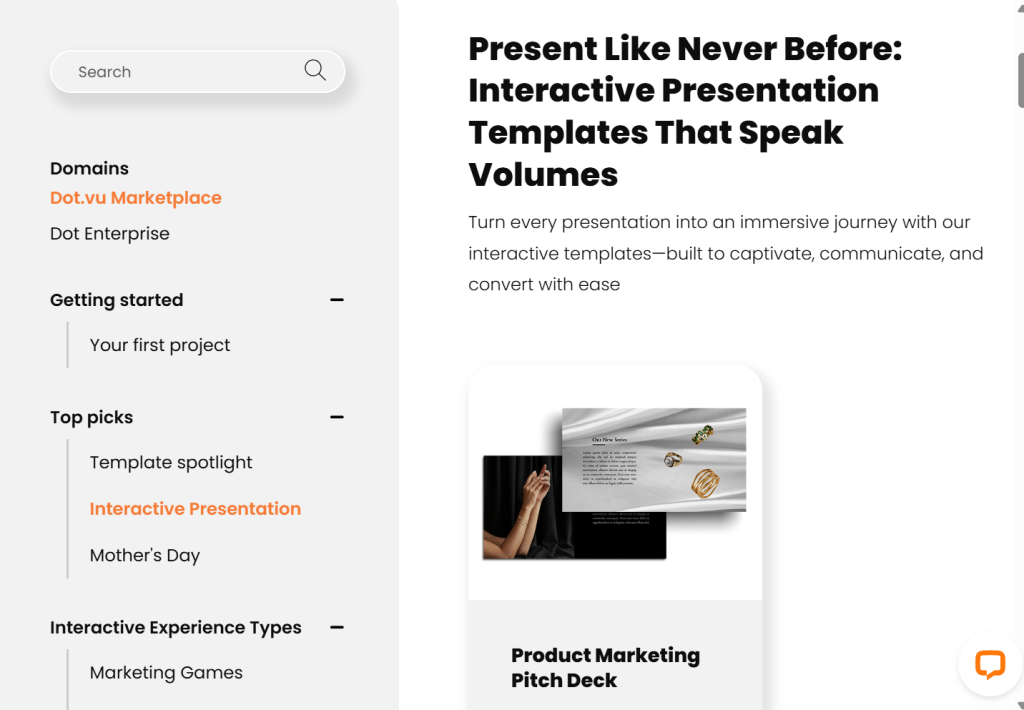
Simply browse through various Interactive Presentation templates with fully designed layouts on our marketplace. From pitch decks, business proposals, to sales presentations, choose a template that aligns with your goal and click ‘customize template’.
Get started with some of these templates:
Step 2: Drag, drop, and edit
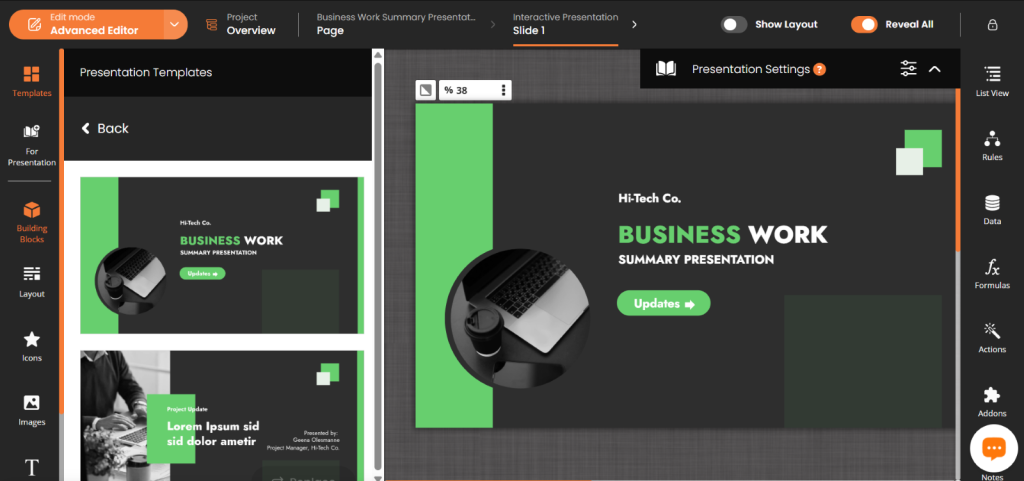
After selecting a template, you’ll be brought straight to our advanced editor where you can customize your content, design, and presentation flow. Our editor’s drag-and-drop function allows you to drag and drop components onto the canvas. It’s easy to make an Interactive Presentation, no coding or design skills are required!
Start by adding slides and then click on it to edit individually. You can add content or replace them as you like or use available Content Blocks under Building Blocks. Content Blocks are ready-to-use content sections, save time by using them or create your own block and reuse them for different sections.
Pro tip: You can utilize different pages from other templates for your deck under Presentation Templates. Instead of creating a slide from scratch, choose from various pre-made layouts and designs from other templates
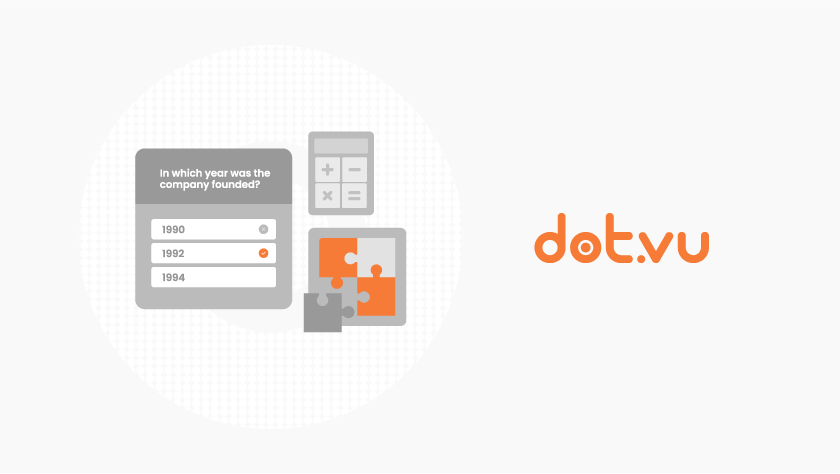
Step 3: It’s time for interactivity! Add Interactive Experiences or elements.
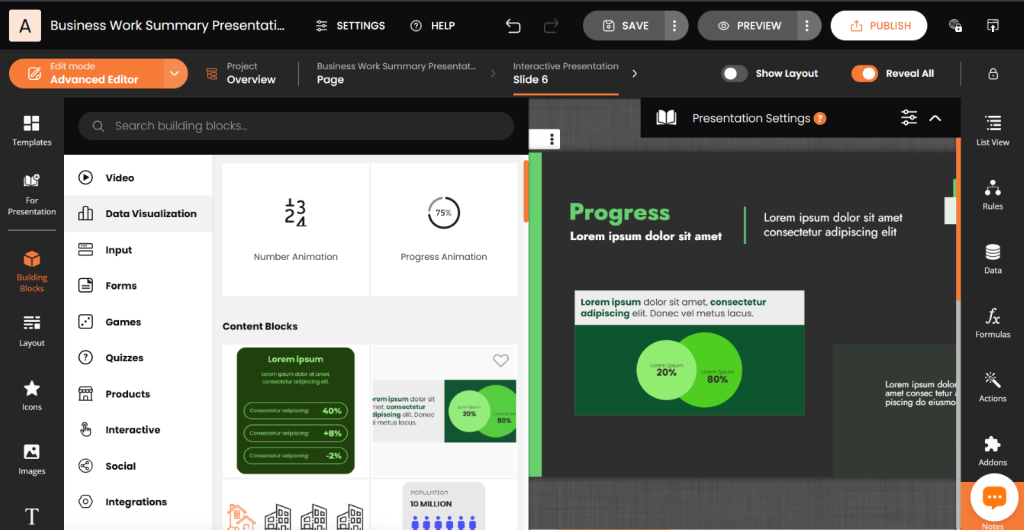
Ready to make your presentations more interactive? It’s easy! Just click on Building Blocks and drag your selected interactive element onto your slide.
These are some of the fully integrated Interactive Experiences and elements available to make your presentations more impactful:
- Lead Generation Tools: Interactive Flipbooks, Quizzes, Polls, and Lead Forms.
- Explainers: Hotspots, Expandables, Number Animation, and Progress Animation.
- Showcase: Product Cards, Popup Slideshow, Interactive Videos, and Interactive Virtual Tours
- Conversion Drivers: ROI Calculator, Shoppable Videos, Content Gating.
- Engagement Boosters: Marketing Games, Quizzes, Scratch-to-reveal.
Adding these to your presentations makes them more dynamic and measurable. How? They invite audiences to interact, collect audience data, and are visually captivating.
RELATED: 10 Ultimate Presentation Ideas to Make Your Slides Interactive
Step 4: Edit slide flow and personalize content for audiences
Now, it’s time to tell a story and take the audience on a journey. Add or delete slides, rearrange them, and control the flow of your presentation with Presentation Settings.
With slide flow, control slide entry, content flow, and how slides transition onto the next. For each setting, you can add dynamic zoom in or out effects, animations, and action sets.
Pro tip: Use custom transition logic if you want to create personalized presentations that change to show relevant content based on user input.
Some ways you can personalize your presentations is:
- Personalized recommendations – provide recommendations or suggest specific products or services based on audience choices.
- Branching slides – let users choose paths or view content that is relevant to them.
- Interactive Video – allow audiences to explore different solutions based on their needs with an Interactive Video.
Step 5: Preview and test the experience
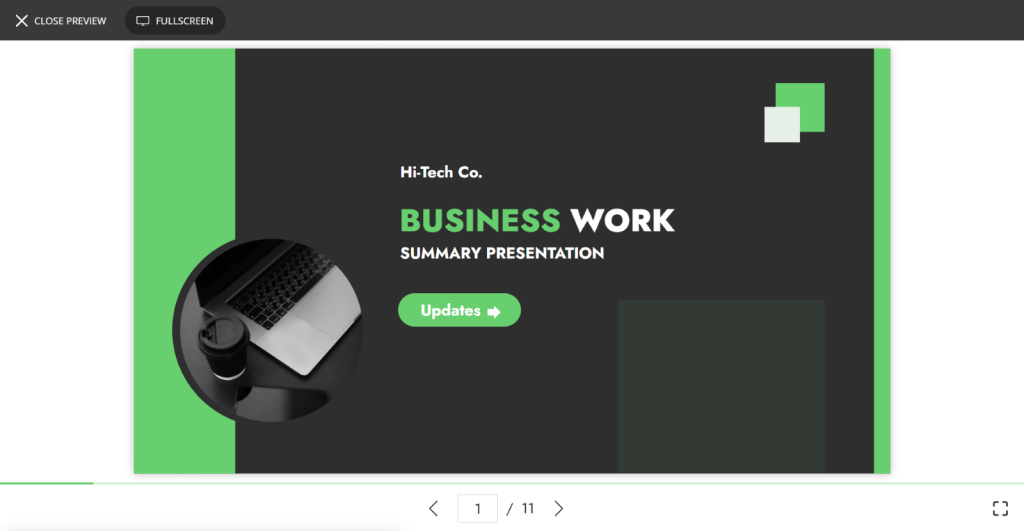
After completing the previous steps, it is time to preview your Interactive Presentation! View how your presentation will look in real time and across devices by clicking the Preview button. Now, you’ve successfully learnt how to make an Interactive Presentation!
Pro tip: Check the engagement flow, load time, and test out interactive elements before publishing to ensure they work and flow smoothly.
Step 6: Publish and Share Across Channels
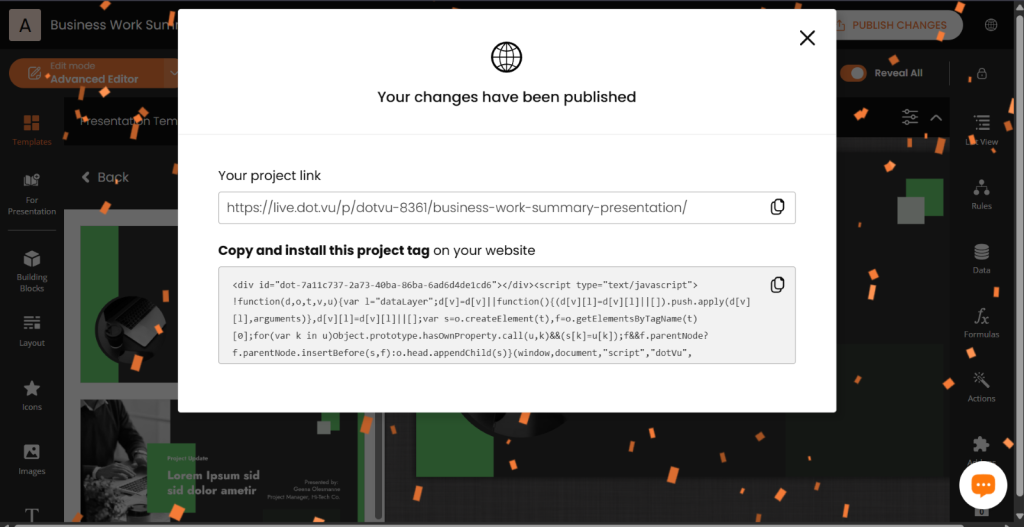
Once everything is set and your slides look perfect, hit the Publish button.
Publish your Interactive Presentation anywhere and anytime with Dot.vu. Want to embed it onto your website? Just install the project tag. Want to use it for webinars or meetings? Simply copy and share your project link to participants via email. It’s so simple you don’t need a dev team!
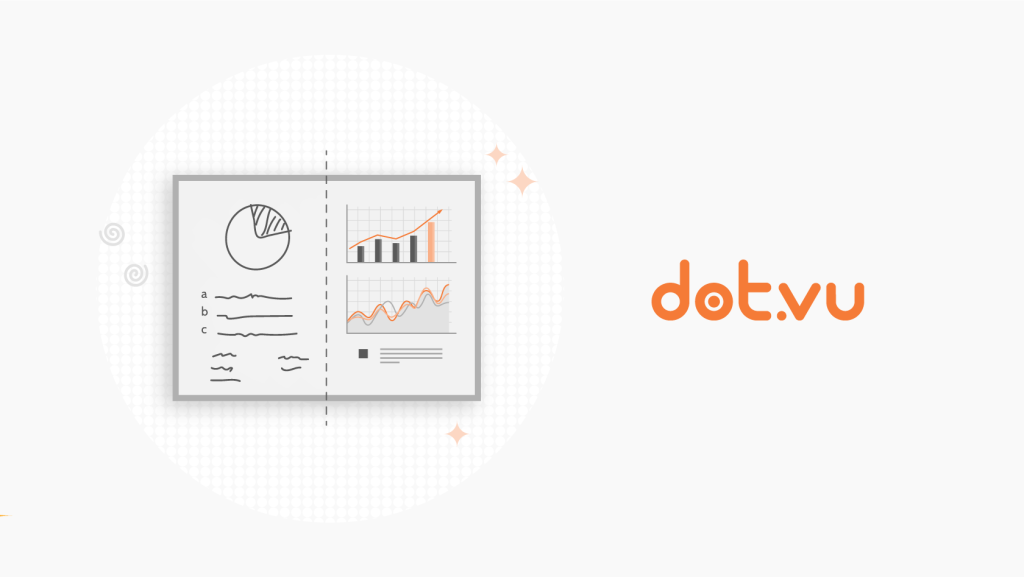
What’s great about our Interactive Presentation is that it tracks engagement, clicks, and responses with our built-in analytics.
Step 7: Optimize based on real-time insights
After publishing, you can see how your presentation performed by checking Dot.vu’s built-in analytics. Gain insights into your audience through Session Data and Audience Data. See what resonates with the audience and optimize your slide content accordingly. You can even create Custom KPIs to track more specific interactions.
Collect data such as:
- Audience Details (name, email, or phone number)
- Views
- Visitors
- Returning Visitors
- Audience Growth
- New Contacts
Early Access Is Now Open! Here’s What You Get
Read to transform your presentations into highly engaging experiences? Our early access program is now open!
What’s in it for you?
- Unlock Early Access: Be among the first to test-drive our Interactive Presentation solution.
- Free Conversion: We’ll convert one of your static presentations into an Interactive Presentation at no cost.
- Expert Support: Work hands-on with our specialist team to fine-tune your new interactive slides.
Interested?
Join early access now and don’t miss out on this opportunity! Limited spots are available. Experience the future of presentations today with Dot.vu.
Build impactful Interactive Presentations with ease using Dot.vu’s Interactive Presentation tool
Creating an Interactive Presentation doesn’t have to be complex thanks to our tool. With just 7 simple steps, building a high-impact presentation can be done within hours instead of weeks. Want to convert your deck into an Interactive Presentation? Secure your spot now with our Early Access Program!