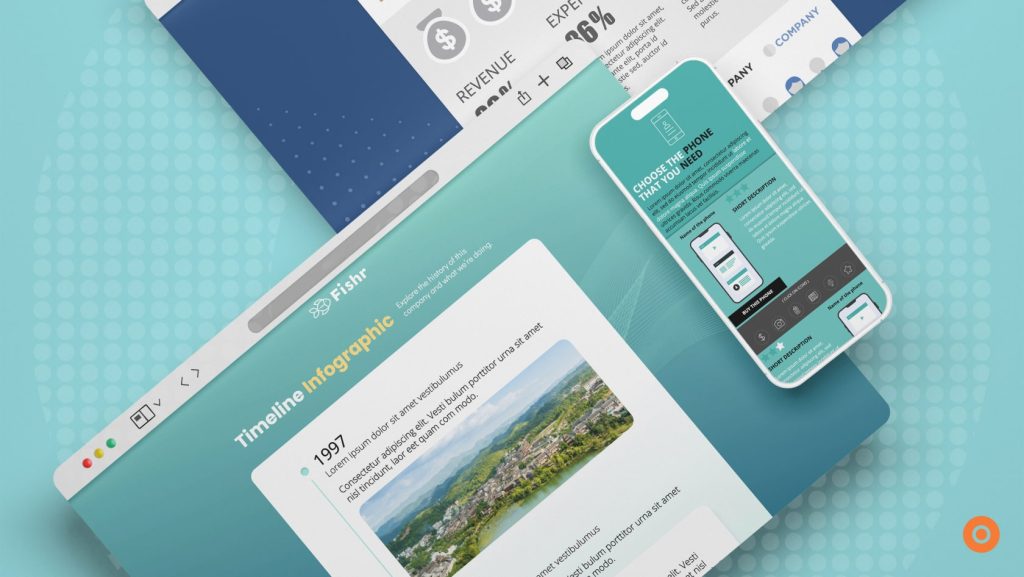
Timeline Infographics have been useful to many, whether students, teachers, or businesses, they convey information or events visually in a chronological sequence. Besides presenting information in sequential order, it tells a story, focuses on historical or key events, and highlights a process or a journey that happened. Moreover, it is a powerful visual tool that makes comprehensive information such as multiple dates with descriptions easier to digest.
There are multiple types of timelines that can be used to display information, such as a horizontal timeline, vertical timeline, project timeline, event timeline, roadmap, and company timeline. But, did you know you can make your timeline infographic even more attractive, compelling, and engaging?
This article will show you how to make an Interactive Timeline Infographic and you will learn:
What is an Interactive Timeline?
An interactive timeline is a timeline infographic that readers can engage with by hovering over a section or clicking a category to expand its complete information. This dynamic presentation transforms a visual timeline into an interactive experience, enabling users to uncover more details by interacting with elements such as headers, icons, timeline bars, images, videos, or popups.
Additionally, readers can interact by clicking to expand the image, watching a video, filling in a lead form, answering quizzes and clicking on hotspots, unlike a typical static timeline. Explore these several types of Interactive Infographics before you start creating one.
Key Elements in a Timeline
These are essential elements that you should include in your timeline infographic to make it informative and engaging.
- Dates. Dates highlight specific events that occur within your timeline.
- Description. A description details information within a specific date or event.
- Header. The header informs the reader about what your timeline infographic is about and highlights specific key details or topics within your timeline.
- Icons. Icons reinforce the message displayed, help readers easily identify information, and provide structure to your timeline.
- Images. Images add value to your infographics by capturing attention, encouraging readers to engage, telling a story, and simplifying the message shown.
- Videos. Videos can be a visual aid to your timeline infographic, they can be used to prompt your readers to interact with your timeline and provide them with additional information and entertainment.
Benefits of creating an Interactive Timeline
Understanding the key elements of an interactive timeline allows you to create a powerful presentation, now let us unpack its benefits.
Captivating Content
When you add an Interactive Experience, it captures attention and draws readers towards your content. Interactive elements or features create a sense of satisfaction in consuming content as they keep things fresh, engaging, and unique, making readers genuinely interested in knowing more about the information provided or your brand. Moreover, an Interactive Timeline Infographic is stimulating and captivating as it prompts readers to interact with elements in the content.
Easy to Digest Comprehensive Information
An Interactive Timeline makes it quicker and easier for readers to digest and retain extensive information displayed on the infographics. It simplifies the information through icons, clickable images or videos, and collapsible sections. With collapsible elements, it allows readers to expand on information based on their curiosity. It does not overwhelm and overload them with too much information all at once and it makes it simple to grasp the information and your content.
Highly Engaging for Readers
Compared to a static timeline infographic, an interactive timeline is highly engaging as readers can interact with it to gain more information. When content allows readers to interact and participate with it such as watching a video or clicking on an element, readers are motivated to engage with the content as it provides them with a meaningful experience. Most people can disengage from content if it is boring, that is why you should create an interactive timeline that will surely engage and keep them interested in reading.
Generate Potential Leads
Creating an Interactive Timeline Infographics lets you generate potential customers for your business by growing your email list. Besides adding interactive elements and features, you can add a lead form to your infographics or make readers fill in the form to access it, this way you can identify who is interested in your business, products, or services and you can reach out to them.
Increase your Brand’s Awareness
Interactive Content is inherently distinctive from static content, rendering it inherently attention-grabbing. Crafting Interactive Content not only sets you apart from the crowd but also amplifies brand awareness. Moreover, Interactive Content elicits user engagement and encourages participation, fostering the sharing of your content with friends and family. This dynamic interaction expands your brand’s reach to a wider audience.
How to create an Interactive Timeline
Ready to start creating your interactive timeline? Follow these 9 simple steps to get started.
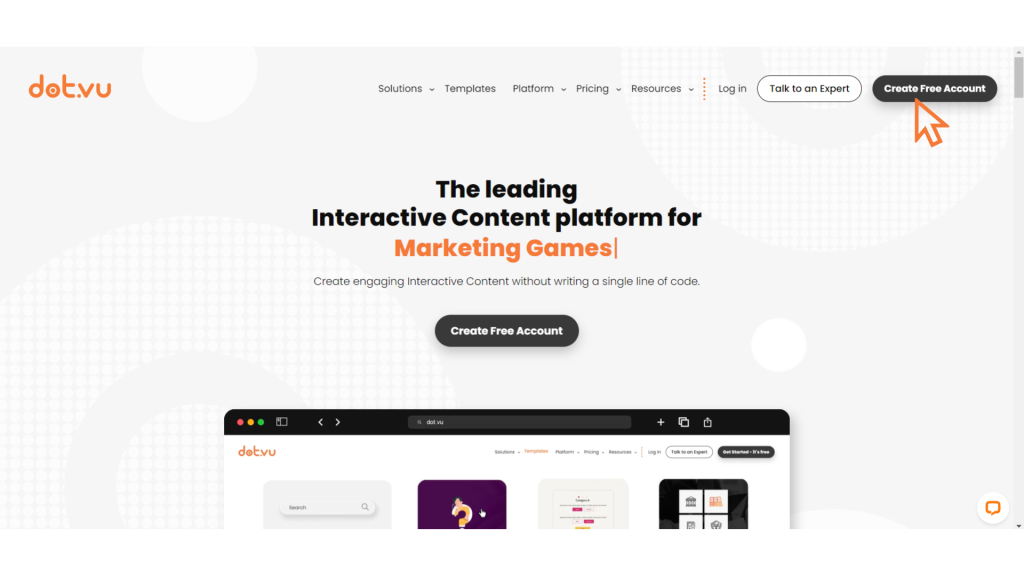
Step 1: Create a Free Account with Dot.vu
Dot.vu is an Interactive Content tool that allows you to create an interactive timeline infographic where you can access an array of interactive features, templates, and elements.
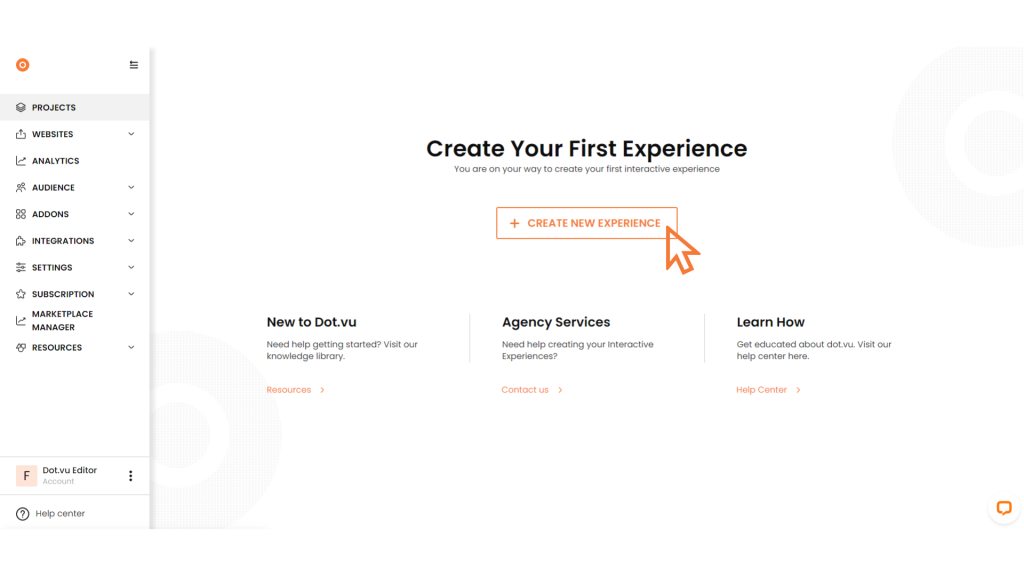
Step 2: Create a Project and Choose a Template
Create a project and you will be directed to the marketplace where you can choose from over 300 templates. In the search bar, type in ‘Interactive Timeline’ and select the Interactive Timeline Infographic template.
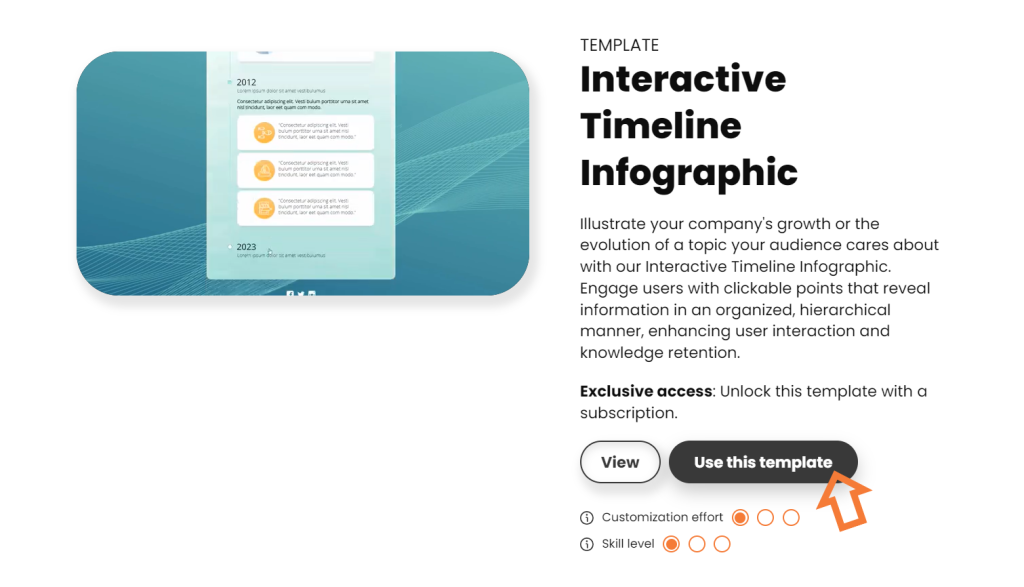
Step 3: Use The Template
Click on the template and click view to get a feel of it and then select ‘Use this template’ to start creating your interactive timeline.
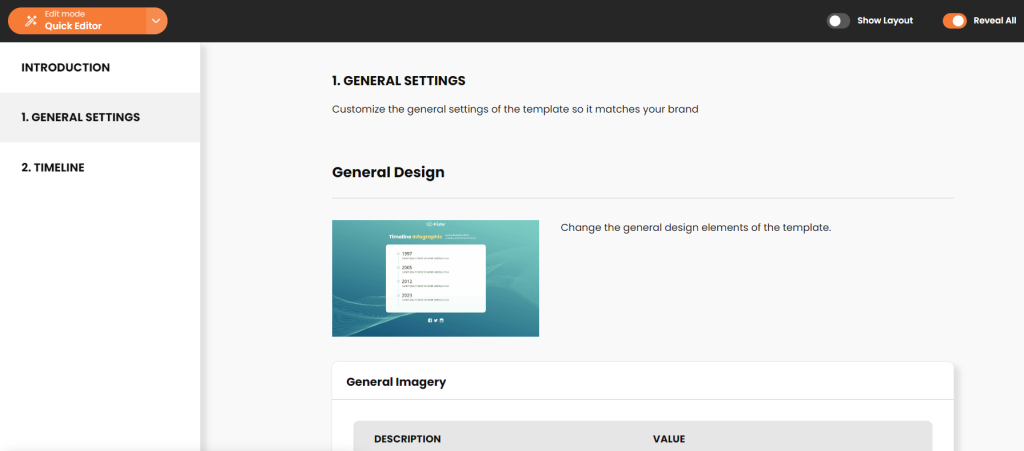
Step 4: Use the Quick Editor and Customize the General Settings
This is where you easily edit and customize the general settings of your page to a design you like. Add your brand colours, logo, text styles, layouts, and background, and adjust or edit your header accordingly.
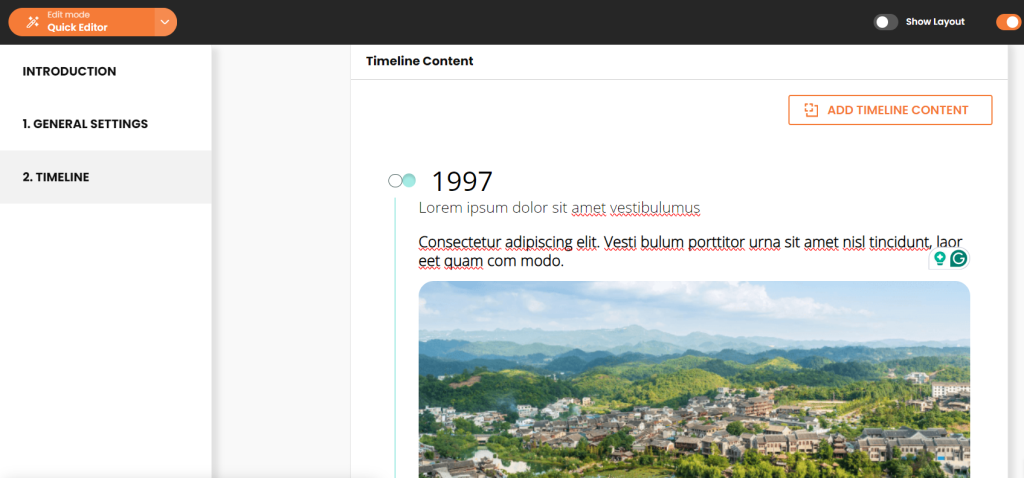
Step 5: Edit your Timeline information
This is where you edit the background of your timeline, timeline colour scheme, and your timeline content such as your text, card, button, and sections.
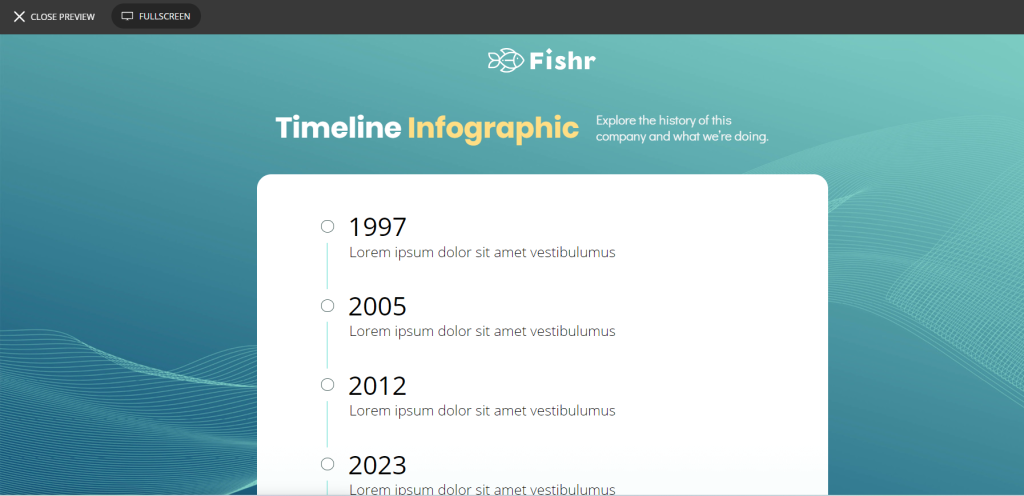
Step 6: Preview your Interactive Timeline Infographic
Before you publish your Interactive Timeline, check your information, images, logo, or texts to make sure they are in order and in the right place. To view your infographic and the latest changes made, click on preview.
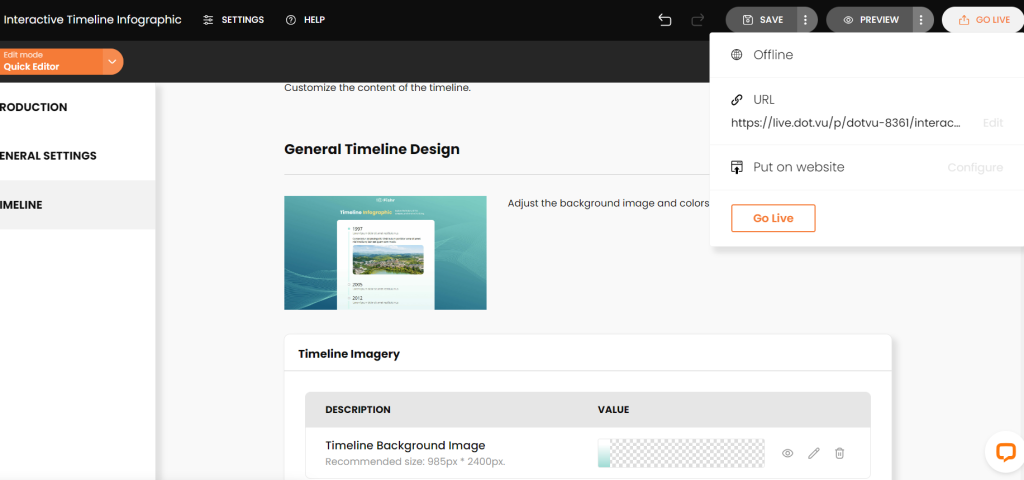
Step 7: Publish your Project
Lastly, once everything is in place and you have double-checked your infographic, you can now publish it or make it live on your website and your other social media channels.
Related: How To Make An Interactive Infographics
You can now create your own Interactive Timeline
Are you looking for an online timeline creator? Look no further as creating and customizing your own Interactive Timeline is easy with Dot.vu, the leading Interactive Content Platform. Its built-in drag-and- drop features allow you to create highly Interactive Content that does not require coding. With its suite of Interactive Experiences, features, and elements, the possibility of creating captivating content is endless.
Make an Interactive Timeline today by trying our 14-day free trial today and watch your engagement increase. Use this Interactive Timeline Infographic template to begin creating.
