Interactive (or online) Calculators are practical marketing tools that help you boost customer engagement. They work the following way: users insert data into your calculator and get an instant calculated result based on their responses. Not only do your visitors get a valuable calculation, but they are willing to exchange their personal information for the help you provide. Therefore, Interactive Calculators are among the most innovative ways to generate leads for your business while collecting valuable data points.
The great thing about the calculator is that the user takes over once you’ve created it. The customers insert their information and automatically receive results that empower them to make informed decisions. Calculators are, therefore, an excellent way for people to find a solution without talking to anyone. More than 90% of customers would use a tailored online knowledge base rather than contacting customer service representatives. Therefore, creating a custom online calculator will improve your user experience.
In the meantime, you benefit significantly from the data you receive through the given answers. It aids in building up rich profiles, generating quality leads, and personalizing your marketing in the future.
There are many tools for building a website calculator using HTML and JavaScript. Nonetheless, you can also use a no-code platform. In this case, you would save time, and you would be able to focus on the design.
How to create an Online Calculator full of interactions?
Branded Interactive Calculators are a great addition to your website. Your company appears helpful and generous by providing your visitors with information to make better decisions. This will help you build long-term relationships with your customers.
Do you want to create an online calculator full of engaging interactions? Follow our 9-step guide for making a customized calculator without writing a single line of code:
1. Identify your audience’s problems
When creating a calculator, it’s important to tackle problems your customers need help with. If you are in the insurance industry, your potential clients might struggle with choosing the right insurance plan. An online calculator would guide them to the best solution without even involving customer support! The more valuable your calculator is, the more likely people are to return, use it again, share it on social media, or refer others to it.
2. Determine the purpose of your calculator
Determining the purpose of your calculator will guide you through the rest of the steps. It can be anything from increasing awareness, generating leads, accelerating the decision-making process, or even positioning your brand as a thought leader in your industry.
For example, you might want to differentiate your company as an authority in a particular field. If your company has unique knowledge or position on the market, creating an educational calculator would be beneficial for your conversion. In fact, people who consume a brand’s educational content are 131% more likely to purchase from the company!
3. Consider what metrics matter to your customers
This step shouldn’t be too hard if you know your audience well enough. Remember, a calculator is there to serve your customers. First, determine what matters to them. Is it saving money, saving time, finding the right product, or maybe, generating revenue (in a B2B context)?
Your main goal is to deliver meaningful results to your ideal prospects. Therefore, it can be helpful to think of what problems your customers have in common as, described in step 1. What issues do they face, and can your tool help your ideal prospects meet their specific objectives? Based on the answers to these questions, you can derive corresponding metrics.
Pro tip: Interactive Calculators are equally useful for B2C and B2B companies. In both cases, your target audience probably has a problem you can help them solve!
Look at the questions in the example below. This is a Food Subscription Calculator where visitors will find the best package for their needs. Therefore, relevant metrics are: number of people, food preferences, and allergies.

4. Define your formula
It would be best if you also thought about the math forming the base of your Interactive Calculator. Consider all the questions you will ask to extract the numbers you need for the formula.
5. Choose a template
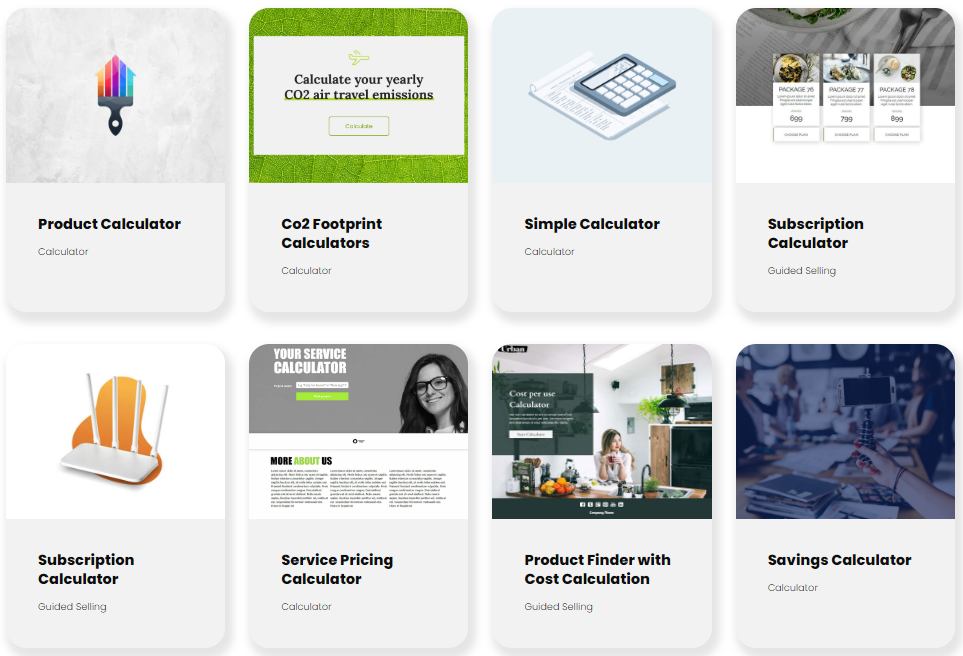
As this guide covers making your own calculator without writing a single line of code, we encourage you to select software with pre-built templates. Dot.vu is an Interactive Content platform with various easily customizable calculator templates, such as a Product Calculator, a Subscription Calculator, and Savings Calculator. To find the best solution for your business, we encourage you to create a free account and explore the templates on our marketplace.
6. Design your custom calculator
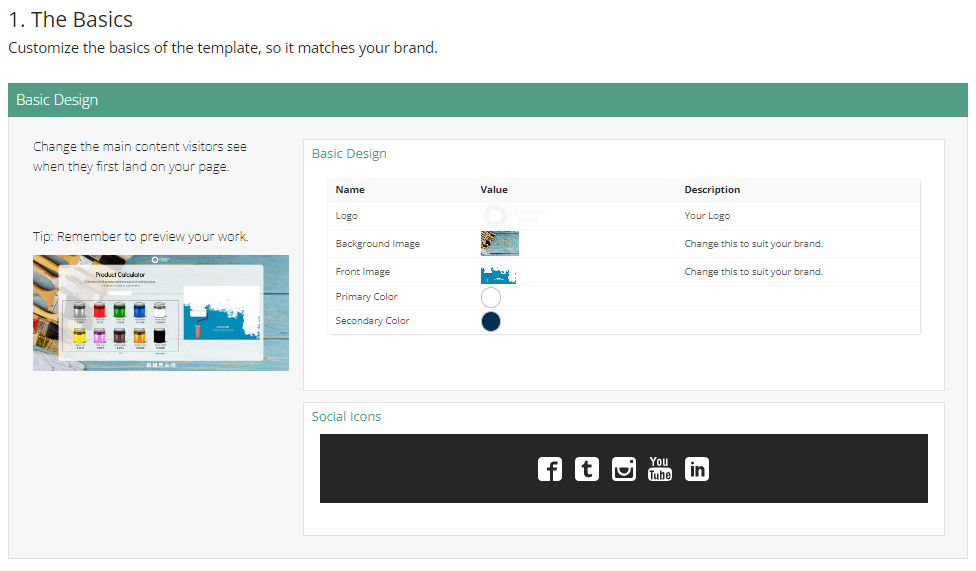
Our platform has a Quick Edit guide that will help you modify and customize any template to match your purpose and brand guidelines. You can change the basic design, images, colors, fonts, and whatever else you want. With us, you can easily build your own calculator that matches your brand guidelines 100%.
7. Be strategic about your lead-form
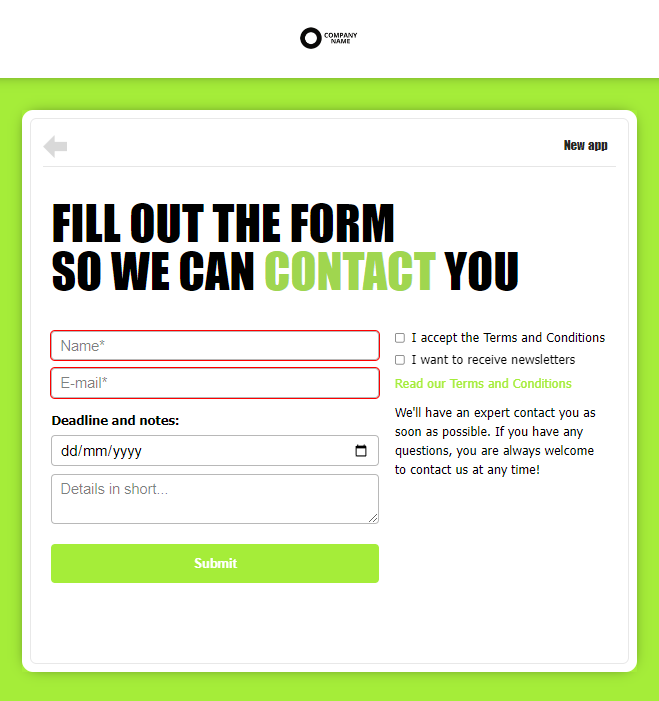
As an Interactive Calculator is often used as a lead generation tool, adding a lead form is essential. However, the placement of the lead form might affect your results. Should you ask visitors for their information before they start the experience, or maybe before they obtain the calculated results? It all depends on your purpose. If you want to generate highly qualified leads, you can place the lead form in the beginning. As a result, only people who value your content will sign up. In most cases, though, we recommend you insert the lead form at the end of the calculator before participants see the results. Because participants spent time answering the questions, they will be encouraged to fill in the lead form to reveal the answer.
Pro tip: Read the gated content best practices to get a better understanding of using lead forms strategically.
Let’s move on to the lead form fields. When considering what to ask your customers, think about what information you need and what information would be nice to have. The more value your calculator provides, the more you can ask for on your lead form. However, keep in mind that when users insert data into the calculator, you will be able to see it afterward. In other words, you get valuable information not only through the lead form but also through the experience itself.
Pro tip: Keep an eye out for the information people insert into your calculator. See if their answers vary or if they have a commonality. You might discover an opportunity for grouping your leads and contacting them with a special offer that suits their needs. The answers might also spark an idea for a new calculator.
8. Decide where to place your calculator
Once you create an online calculator, it is time to bring it to life. If you use our editor, you can purchase the template and publish the experience anywhere you want.
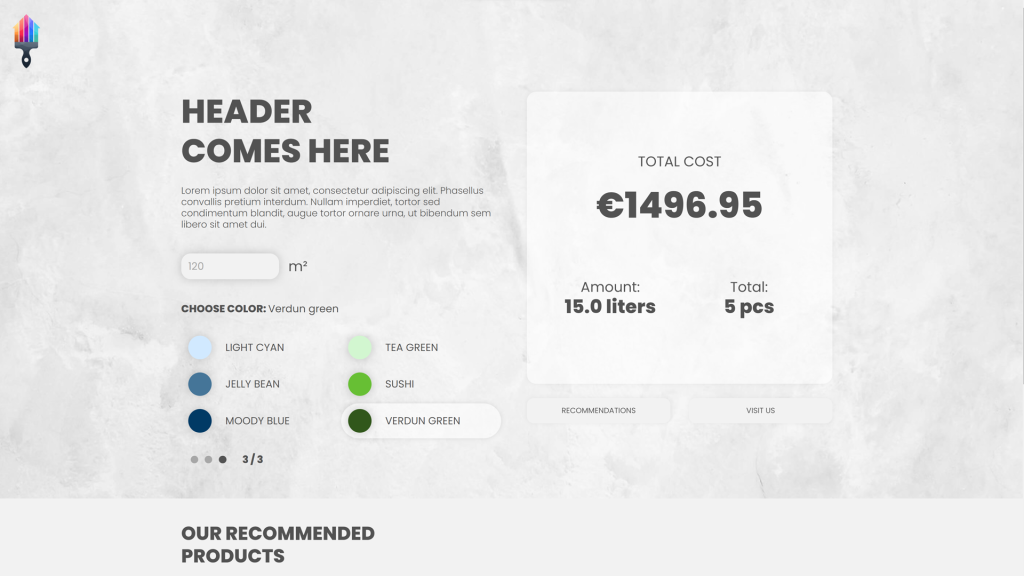
Calculators often create traffic; therefore, you need to decide if you want that traffic on your homepage or a specific landing page. What serves your purpose the best? For example, if the purpose of your calculator is to help customers select a service that suits their budget, the homepage might be a good place to embed it. However, if the calculator focuses on a particular product category, the corresponding page is a better location. Just like in the example below. This Product Calculator would fit best in the corresponding product category page.
9. Promote your Interactive Calculator
It’s not enough to make your own calculator and wait for the leads to come – if only! Sharing and promoting it will get more people to see your masterpiece. You can share your calculator in your newsletter, through social media channels, or through paid search ads.
Explore more ideas for promoting your Interactive Calculator in this blog post: How to promote your Interactive Content to boost results?
Create an Online Calculator with no coding today!
Dot.vu is an Interactive Content platform with many customizable templates. With our user-friendly drag & drop editor, you can create an Interactive Calculator for your website, without writing a single line of code.
Create a free account and try any of our calculator templates for free! When you are ready to publish your Interactive Calculator, you can choose the subscription that fits your needs and goals.