Want to be ahead of your competitors and provide an engaging customer experience?
Our most recent innovation at Dot.vu, Interactive Virtual Tours, provide plenty of possibilities to engage customers with interactive experiences within a virtual environment. Interactive Virtual Tours gives you the possibility to organize educational tours, showroom events, trade shows, and many other opportunities to bring people virtually together.
Why are virtual tours gaining traction? They’ve proven to be one of the most effective tools for keeping users engaged on a website, often extending their stay by 5-10 times. Stay ahead by creating compelling, interactive content that captures your audience’s attention. Be agile and flexible for your next event by inviting customers to an Interactive Virtual Tour.
Curious to learn more and explore the potential it holds for you?
In this blog post, we’ll walk you through the process of creating an Interactive Virtual Tour—from ideation to promotion and monitoring results.
Read more here: What is an Interactive Virtual Tour?
7 Steps to Creating an Interactive Virtual Tours
Let’s jump straight into how to start creating your Interactive Virtual Tour!
1. Define
Before you start creating your first Interactive Virtual Tour, consider and define your business objectives. For example, are you promoting a new product or thinking of holding a conference? Are you planning to increase your company’s customer engagement? Do you want to generate more qualified leads, or do you want to get more customer insights?
It is crucial to have specific objectives in mind, to help steer the project in the right direction and measure the right KPIs. That will help you create your tour as interactive and engaging as possible.
2. Plan Your Interactive Virtual Tour
When it comes to mapping it out, you need to go through several checkpoints. First, ensure that you scope out and specify all the details of your projects. That way, you have a clear plan that everyone can understand and easily follow.
Location
Before you start creating Interactive Virtual Tours, think about the location you want to use. To make your location virtual, use either 360° pictures generated from a 3D model or just upload a panoramic 360° image of your desired environment. You can go to a real-life location and take 360° panorama images with your phone camera. Or you can rent 3D image equipment and create a 3D model of any location. For more lifelike feeling, use 3D generated images, typically comprised of multiple 360 images, allowing people to go from one location to another, just like you would do in the physical world.
Interactive features
Next up, you must decide which interactive elements you will include in your Interactive Virtual Tour. Depending on your previously defined objectives and theme, you can enrich your Interactive Virtual Tour with some interactivities, such as Guided Selling, Interactive Videos, different types of Marketing Games, Interactive Flipbooks, and much more. Once you have decided, you can start mapping out the location of interactivities within your tour. Play around with the rules of our reality to make the experience even more lifelike. For example, you can have a time-based room that only opens at a specific time, or there is a limit on how many people can enter a room at the same time.
Customer journey
Once you have built the foundation of your Interactive Virtual Tour, it is time to become creative. Branch out the customer journey and think about: How do you want the customer journey to be? Where do you want the customers to go to? Which Interactive features could you place in which part of your Interactive Virtual Tour? For instance, you add so-called “hotspots” to the entrance, so your customers have guidance on where to go next in your Interactive Virtual Tour. Or you could invite to only one room with a few interactivities.
3. Create your Interactive Virtual Tour
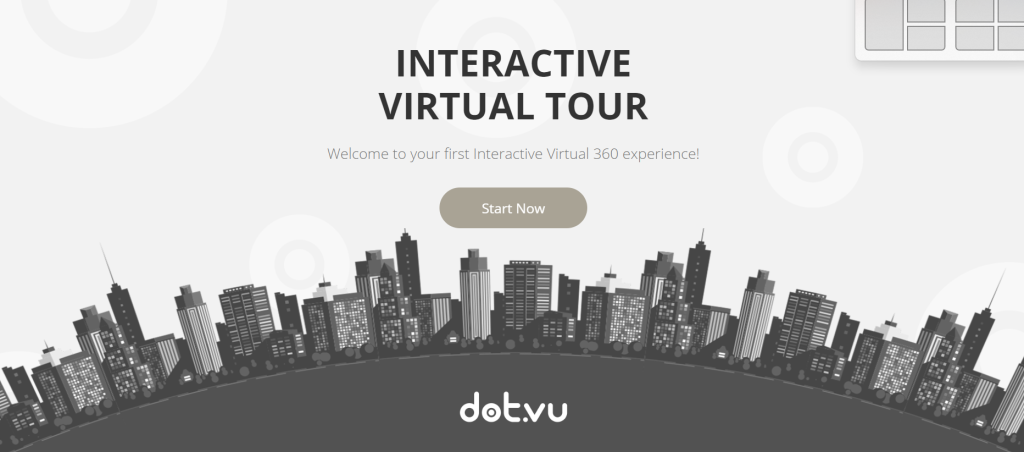
Now, let’s learn how to create an Interactive Virtual tour with our virtual tour software. Once your plan is in place, it is time to start creating your experience. As the first step, simply drag the Interactive Virtual Tour component to your page, then upload the different 360° images you would want to use in the experience. Once this is in place you can simply drag any interactive component or navigation points to make it all interactive.
The more interactivity you implement, the more engaged your customers will be with what you offer. The sky is the limit, so get creative. If you are looking for ideas, get inspired by our Interactive Virtual Tours example.
4. Define KPIs and data to collect
As with any online experience, it’s important to set up and define the KPI’s of your success. That will help you to learn more about your customers and measure your campaign success. You do this easily by adding any trigger to count up a specific KPI once your customers engage or click on a specific interactive element. All KPIs and data collected can be viewed and exported from the Dashboard of the experience or directly integrated into your preferred system. At Dot.vu, you also have the choice to integrate with different platforms such as Google Analytics, HubSpot, Salesforce, Zapier, and many more.
5. Publish your Interactive Virtual Tour
It is time to review your Interactive Virtual Tour one more time before you promote it. Consider using existing data from other marketing and sales activities to optimize this campaign. Also, use this step as an opportunity to maximize your SEO with a meta-title and description. After that, you are ready to publish your Interactive Virtual Tour, embedded it in your website, native mobile app, or run it as a full landing page experience and watch the magic happen!
6. Promote your Interactive Virtual Tour
To make your campaign successful, make sure to promote it on your marketing channels. Ensure your customers are informed about this experience to take part in. Let them know through your social media, email newsletter, blog, or website. Remember to use “Call-to-action” to encourage users to check out this tour of yours. As a result, improve your brand awareness and increase customer engagement. To create hype around your event, consider making a pre-sign-up lead form or countdown before the start of your Interactive Virtual Tour.
7. Evaluate your Interactive Virtual Tour
Once you have your Interactive Virtual Tour published, try returning to it after a while to track how it performs. Check your behavioural data, such as first-party and zero-party data, and find out which Interactive Experiences generate the best results. By measuring how users interact with your Interactive Experiences, you can gain insights to quickly spot potential issues and apply the necessary corrections in real-time. Specifically, this collected data can make your future marketing campaigns more relevant to your audience and build a more meaningful and lasting brand relationship.
Are you ready to create your Interactive Virtual Tour?
Become part of this new reality with countless possibilities! If you can dream it, you can create it! So, start building your Interactive Virtual Tour already today and request a demo so we can help you get started. For more inspiration, explore our virtual tour templates!
At Dot.vu, we understand that crafting an Interactive Virtual Tour filled with engaging elements takes time and dedication. Let us bring your vision to life! Our team of Interactive Content experts can transform any idea into a captivating experience, from visualizing your store to crafting a virtual tour for your next event. Schedule a meeting to discuss your concept today:
